Installation
Installing the extension
To get started with TraceMail, simply install the Google Chrome extension. Begin by heading to the TraceMail Extension page on the Chrome Web Store. You can easily access it by clicking the button below.

Available in the
Chrome Web Store
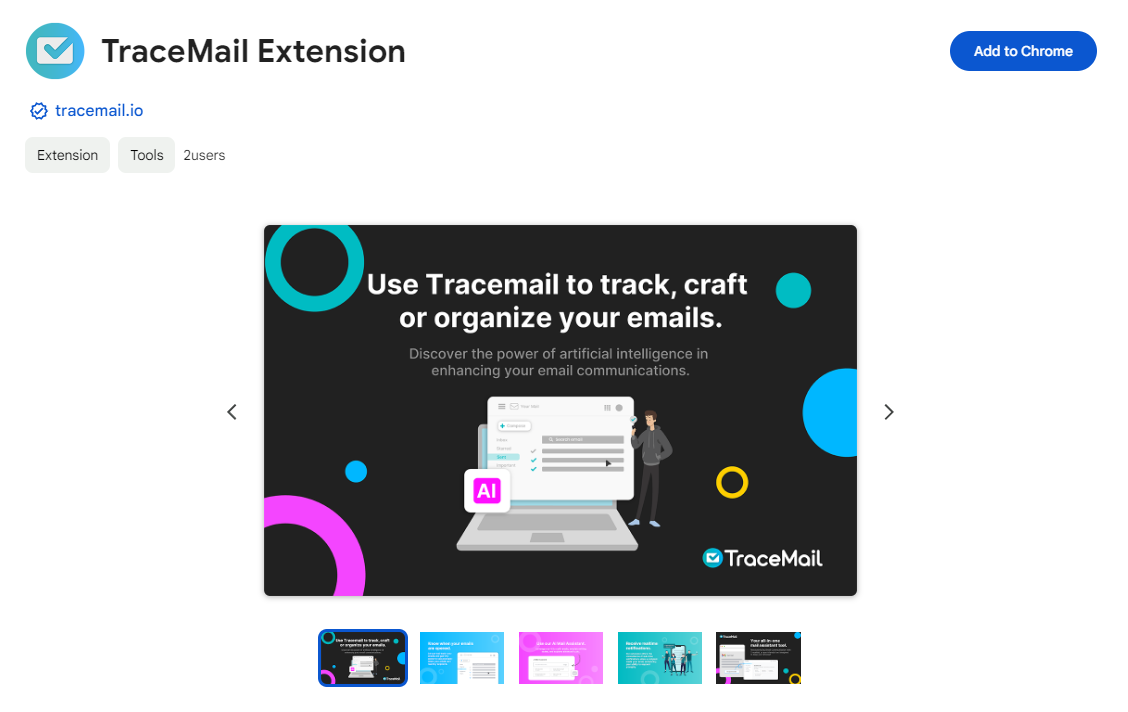
Next, click the "Add to Chrome" button as shown in the image below.
Navigating to the extension
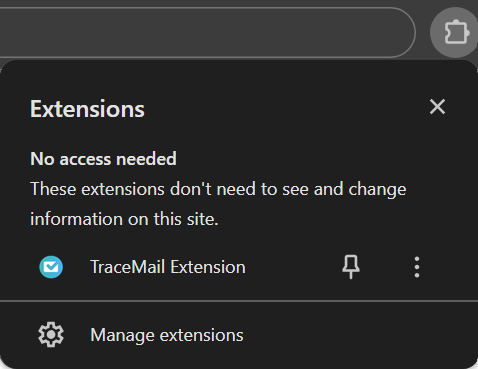
You can find the extension by clicking the "Extensions" icon at the top right of your browser. For quick access, you might want to pin TraceMail by clicking the "Pin" button. Then, click the extension to open the TraceMail window.
Signing in with Google
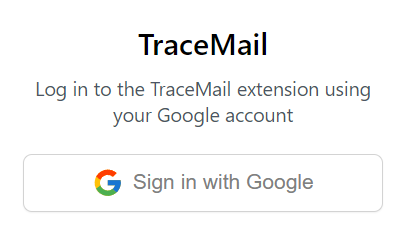
In the TraceMail extension popup, you will be prompted to sign in with Google. Follow the Google-provided steps to either set up a new account or sign into an existing one.
Enabling TraceMail
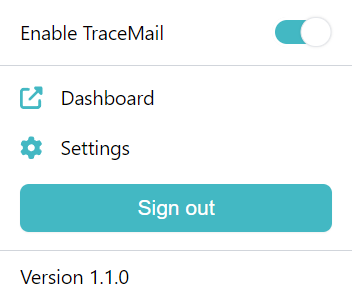
After signing in, open the TraceMail extension popup again and ensure that you enable the extension by toggling "Enable TraceMail" at the top.
If you prefer to have email tracking enabled by default for new emails, go to the settings tab and select "Track emails." You can also choose to enable tracking for individual emails within Gmail.
You’re all set! You can now start using TraceMail for email tracking and other utilities. Continue to the next chapter to learn how to send your first tracked email.